Source: Pinterest
To get started on knitting, you will need all the necessary materials and tools then select a basic project that you might want to work on. Preferably, you would choose to knit small pieces of fabric. Hand gloves, hats, and scarves are the most common examples.
While fabric producers that manufacture clothing and other stuff utilize knitting machines such as single jersey circular knitting machine, you can actually make your own customized scarf using your hands! In this article, we will help you create your own knitted scarf. Sounds exciting?
Yes! This is good practice for your knitting skills, and it will be a good addition to your wardrobe. If you’re ready, let’s begin!
1. Gather your supplies.
Experienced knitters would always say get something that you’re comfortable to use and work with. If you’re not comfortable with your tools, you will always be bothered and distracted. The process will take a much longer time. So, in choosing your supplies, assess how you feel while you hold them with your hands.
- Needles
Wood and bamboo types of needles are good for beginner’s use. But again, they are available in different kinds of materials, and your personal choice matters than every recommendation out there. What works best for you will provide you with the best results!
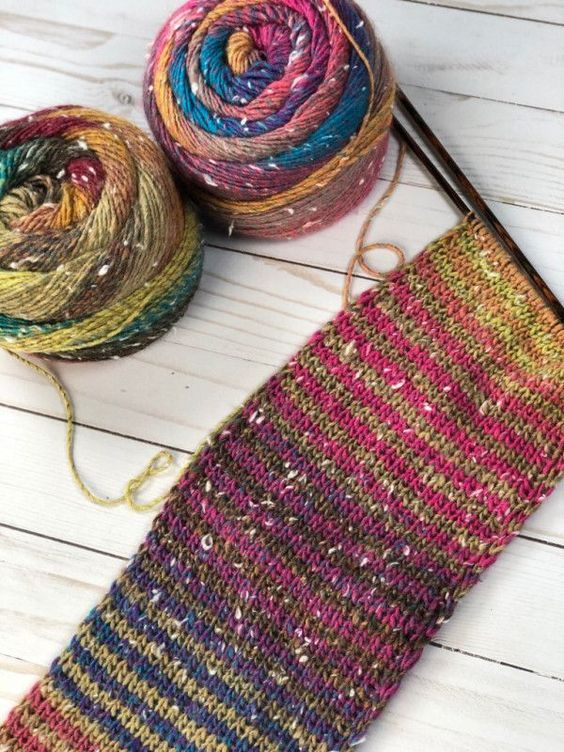
- Yarn
A lot of craftsmen would advise you to use bulky yarns over fine ones (especially for a knitted scarf). Chunky weight and bigger yarns are much easier to work with. They’re easier to grip and handle as compared to yarns that are lightweight. So, this type is perfect for a beginner like you. Knitting with lace will take you years before finishing a simple scarf, which is not very ideal for a beginner.
- Scissors
Yarns must be cut cleanly, which can only be done by using a pair of scissors. Tearing yarns by pulling, biting, or any other unsharp objects will cause the yarn to get loose. Scissors that are medium or small in size are more ideal than large ones.
- Crochet Hook
A crochet hook is useful for picking up stitches that have dropped. It’s helpful when you make small mistakes.
- Hand Cream
Hand cream is actually optional, but it is essential if you want to have ease with knitting. It will keep your hands moisturized as the yarn and wooden needles absorb the oil and water from your hands.
2. Familiarize yourself with knitting jargon and symbols.
These are only some of the terminologies that you might encounter as you read some guides on how to knit a scarf or any other fabric.
- Knit (K) – knit stitch or the basic stitch.
- Purl (P) – purl stitch or the opposite of knit stitch. These are commonly mixed with knit stitches for many different projects.
- Cast On (CO) – casting on is the act of making a row of primary stitches on one of your knitting needles.
- Right Side – the side of the cloth that faces the opposite of the skin. Meaning to say, this is the side that gets shown.
- Wrong Side – the side of the cloth that faces the skin, or the one that’s inside when worn.
- Right-hand Side – the side of the knitwork which is closest to your right hand.
- Left-hand Side – the side of the knitwork which is closest to your left hand.
- * (asterisk) – the symbol used to mark the start and end of a part of the instruction that needs to be done multiple times.
- () (parentheses) – these enclose the directions that involve the number of times a specific instruction will be repeated.
3. Proceed with the knitting properly.
Knitting a scarf for beginners involves three main steps:
- Cast On
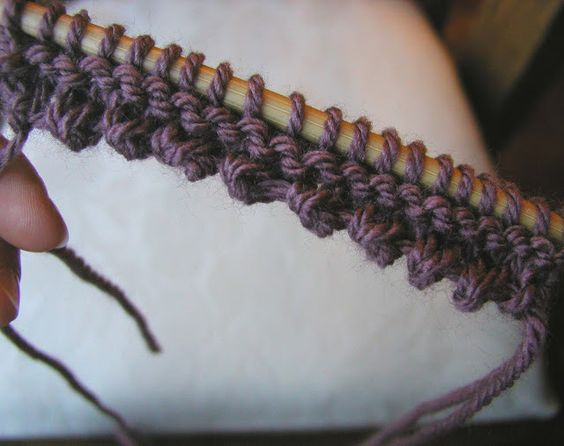
Source: Cut Out and Keep
Casting on is the first step in knitting. To begin with your scarf project, you will need to do this first. Cast on 22 stitches. All you need to do is to make a loop using the yarn, then grab its end, let it pass through the loop. Continue with the loops, then end with a knot.
- Knit Stitch
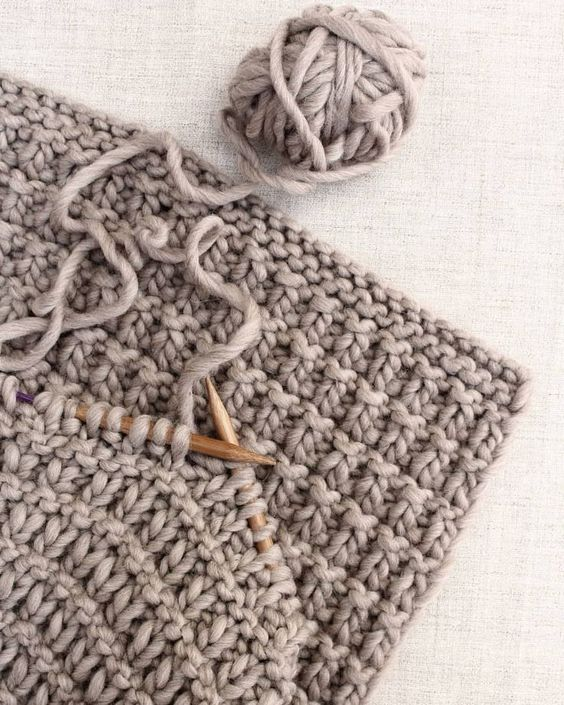
Source: Last Steppin
To do the knit stitch, insert the other needle into the loop (first stitch) on the first needle with the cast on, from front to back. Carry the yarn under and over the needle and make it pass through the stitch using the other needle. Slip the first loop off the needle and there, the new stitch will be on the right needle. Do it over and over again until you reach the length you want for your scarf.
- Cast Off
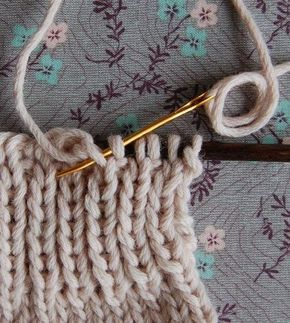
Source: Purl Soho
Use the tapestry needle in weaving in the ends of the stitches as you cast off the yarn from the needles.
Conclusion
Once you have your materials with you, don’t hesitate to begin knitting! We know this seems to be a difficult task, but with the right determination, you will make it! You will then realize that it’s not that hard to do after all.
Also, do not be afraid to make mistakes. Every expert has gone through a lot of mistakes in a myriad of ways before they made it to where they are right now. So, be patient with your learning self. Give yourself some time to gain the knowledge, process it, apply it in practice, make mistakes, and do better with another try. Go, create that beautiful scarf!
Throughout the year, our writers feature fresh, in-depth, and relevant information for our audience of 40,000+ healthcare leaders and professionals. As a healthcare business publication, we cover and cherish our relationship with the entire health care industry including administrators, nurses, physicians, physical therapists, pharmacists, and more. We cover a broad spectrum from hospitals to medical offices to outpatient services to eye surgery centers to university settings. We focus on rehabilitation, nursing homes, home care, hospice as well as men’s health, women’s heath, and pediatrics.